vue h() render() 渲染函数入门
必要的前置知识
DOM 树
在深入渲染函数之前,了解一些浏览器的工作原理是很重要的。以下面这段 HTML 为例:
1 | <div> |
当浏览器读到这些代码时,它会建立一个 ”DOM 节点“ 树 来保持追踪所有内容,如同你会画一张家谱树来追踪家庭成员的发展一样。
上述 HTML 对应的 DOM 节点树如下图所示
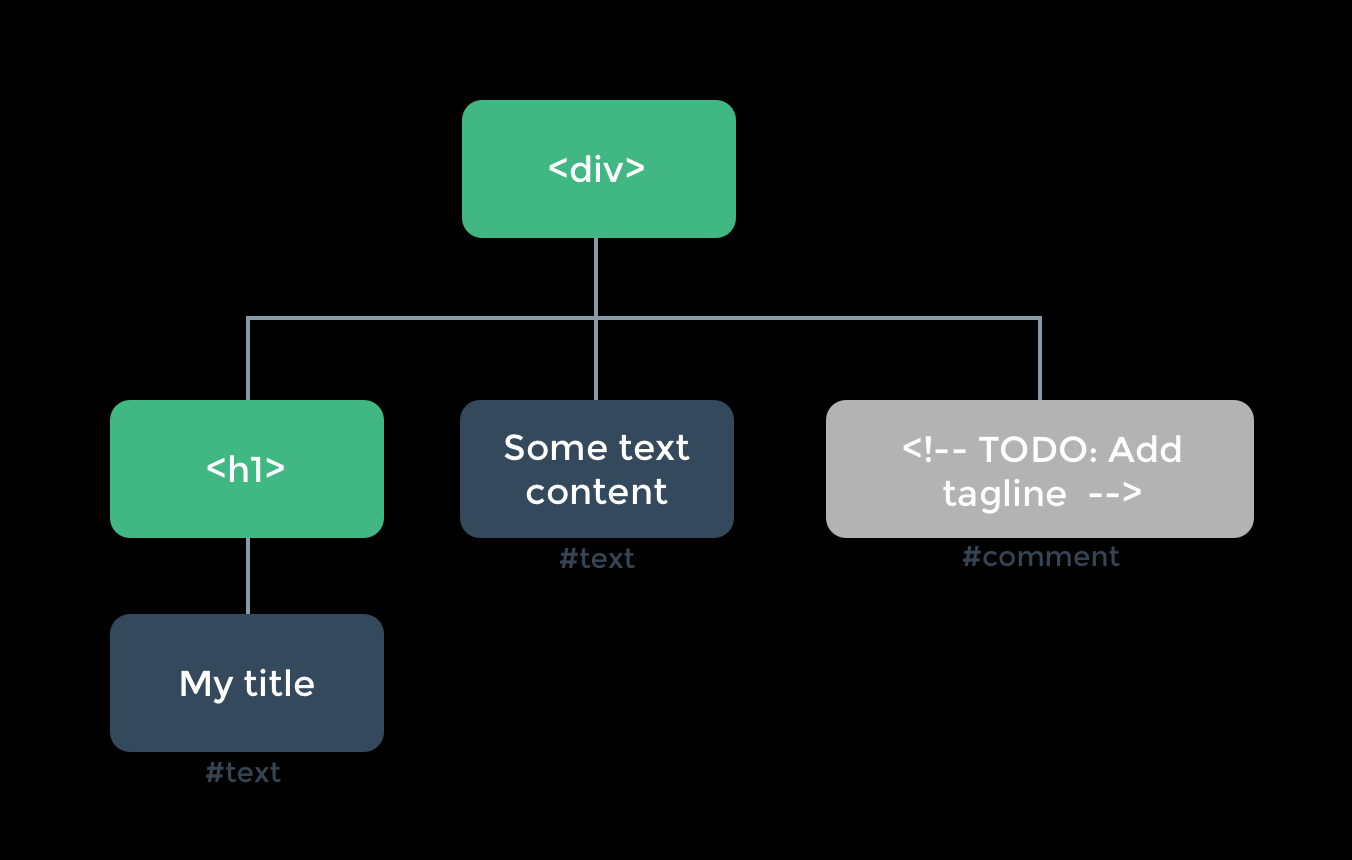
每个元素都是一个节点。
每段文字也是一个节点。
甚至注释也都是节点。
一个节点就是页面的一个部分。
就像家谱树一样,每个节点都可以有孩子节点 (也就是说每个部分可以包含其它的一些部分)。
高效地更新所有这些节点会是比较困难的,不过所幸你不必手动完成这个工作。你只需要告诉 Vue 你希望页面上的 HTML 是什么,这可以是在一个模板里:
1 | <h1>{{ blogTitle }}</h1> |
或者一个渲染函数里:
1 | render() { |
在这两种情况下,Vue 都会自动保持页面的更新,即便 blogTitle 发生了改变。
虚拟 DOM 树
Vue 通过建立一个虚拟 DOM 来追踪自己要如何改变真实 DOM。请仔细看这行代码:
1 | return h('h1', {}, this.blogTitle) |
h() 到底会返回什么呢?其实不是一个实际的 DOM 元素。它更准确的名字可能是 createNodeDescription,因为它所包含的信息会告诉 Vue 页面上需要渲染什么样的节点,及其子节点的描述信息。我们把这样的节点描述为“虚拟节点 (virtual node)”,也常简写它为 VNode。“虚拟 DOM”是我们对由 Vue 组件树建立起来的整个 VNode 树的称呼。
h() 参数
h() 函数是一个用于创建 VNode 的实用程序。也许可以更准确地将其命名为 createVNode(),但由于频繁使用和简洁,它被称为 h() 。它接受三个参数:
1 | // @returns {VNode} |
如果没有 prop,那么通常可以将 children 作为第二个参数传入。如果会产生歧义,可以将 null 作为第二个参数传入,将 children 作为第三个参数传入。
简单示例
1 | <template> |
1 | <script setup lang="ts"> |
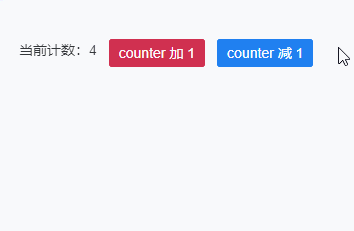
计数器案例
1 | <template> |
1 | <script setup lang="ts"> |
在写这段的时候遇到了一个警告
“Non-function value encountered for default slot. Prefer function slots for better performance.”
我在 stackoverflow 找到同样的问题,但是我没太明白导致这个原因(有大佬明白请评论指点🙏)
This is inefficient because the child slot is rendered before the HelloWorld component could even use it. The child slot is essentially rendered in the parent, and then passed to the child. Wrapping the child slot generation in a function defers the work until the child is rendered.
机翻:
这是低效的,因为子槽在HelloWorld组件使用它之前就已经呈现了。子槽实际上是在父槽中呈现的,然后传递给子槽。在函数中包装子槽生成会推迟工作,直到渲染子槽为止。
解决方案
与其在父级中渲染子槽(即,直接传递一个数组 VNodes 作为 slots 参数),不如将其包装在一个函数中:
1 | // src/components/Composite.js |
线上 demo
https://codesandbox.io/s/hardcore-gould-ho47tm?file=/src/components/Composite.js
setup script 中书写 h() 函数
1 | <script setup lang="ts"> |
在 setup script 中书写 h() 函数只是一个特殊的实现,此方法不应优先使用,因为它会使代码的可读性降低。 而且setup script的出现是为了解决setup()需要导出的麻烦。如果你的组件不需要<template>,你根本不需要setup script,你应该使用jsx/tsx文件
Tag 标签三种写法

template 方式
1 | <n-tag round :bordered="false" type="success"> |
h() 函数方式
1 | render() { |
jsx/tsx 方式
使用 jsx/tsx 要在 script标签上声明 lang="tsx" / lang="jsx"
1 | <script lang="tsx"></script> |
1 | render() { |


